Progressive Relaxation: What It Is and How It Helps
This article is taken from our previous publications Physical Literacy, Modified Ballet for Athletes and Modified Ballet for Swimmers as cross-training exercises. Available for purchase in our shop!
We have incorporated mental training, stress relief, and progressive relaxation into our sports programs since the mid-1980s, whereby most thought we were ‘Nuts!’ We were laughed at and ridiculed as one swim mother in town told one of our mothers: “I would never have that woman train my kids” … but they are not laughing any longer. We just were way ahead of the times!
Relaxation and Stress Relief
Overall Goals:
Heighten awareness for bodyline and body centering, correct posture and/or positional alignment
Develop and increase functional and motor fitness
Strengthen core muscles in the area of the belly, mid and lower back, and peripherally, including hips, shoulder, and neck, to increase functional fitness and reduce potential injuries
Develop and increase the ABCs of physical literacy (agility, balance, coordination, and speed)
Develop and increase balance and control of body movement, arm and leg action
Develop the ability to reduce and/or control stress through a series of Yoga and Progressive Relaxation exercises
Develop and increase concentration and focus through respective exercise sequence
Progressive Relaxation
Real or perceived stress, anxiety, and emotional distress heavily impact anything we do, regardless of age. Different stretching and relaxation techniques such as Yoga, Pilates, focused breathing, body centering, and progressive relaxation can be easily implemented. These methods increase fitness levels and reduce stress by focusing on breathing, body awareness, overall body function, and/or specific body parts. Moreover, they enhance concentration, focus, and other mental skills.
Progressive relaxation is a technique to monitor and control the state of muscular tension. American physician Edmund Jacobson (1888-1983) developed the method in 1929, whereby tension is induced deliberately in each specific muscle and then released as ‘attention is paid to the contrast between tension and relaxation.’ Progressive Relaxation serves as a lifetime skill, at least in my opinion, and children should be introduced to this strategy early on as it is part of the developmental triad: physical, technical, and mental skill learning.
Purpose:
The technique is a systematic progression to help lower overall body tension and stress levels by creating a state of relaxation when feeling anxious. It is also helpful to reduce physical problems such as stomach and headaches and is said to improve sleep. Children with anxiety difficulties are often so tense throughout the day that they fail to recognize any feeling of relaxation, which is essential to differentiate one’s state of tension. The ultimate purpose is to identify and release stress by carrying out exercises as needed.
Step-by-Step Guidelines for Coaches and Athletes
Set aside about 15-20 minutes for the entire session
It can be integrated into the Post-training phase (former Cool-down)
Soft music, raindrops, or ocean waves-type recordings are best to create a relaxing atmosphere and a feeling of a relaxed state
Introduce the exercises, talking in a low and soft voice
The number of Repetitions for each contraction and relaxation depends on the time available, group and/or individual needs
Extend the arms relaxed alongside the thighs, palms face down, fingers forward
Use counts 1-10 (tensing) and 10-15 (relaxing) – slow and drawn out: 1-1000, 2-1000, 3-1000, etc., until having the ‘feel’ for the time period
The entire process is repeated several times until participants feel completely relaxed
Once participants know and memorize the progression they can proceed on their own
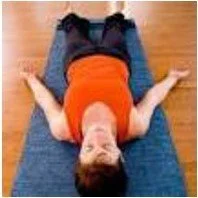
Preparation (See Intro Slide)
A soft mat or a pillow to rest the head is recommended as long as the body is not tensed due to incorrect positioning in the reclined position
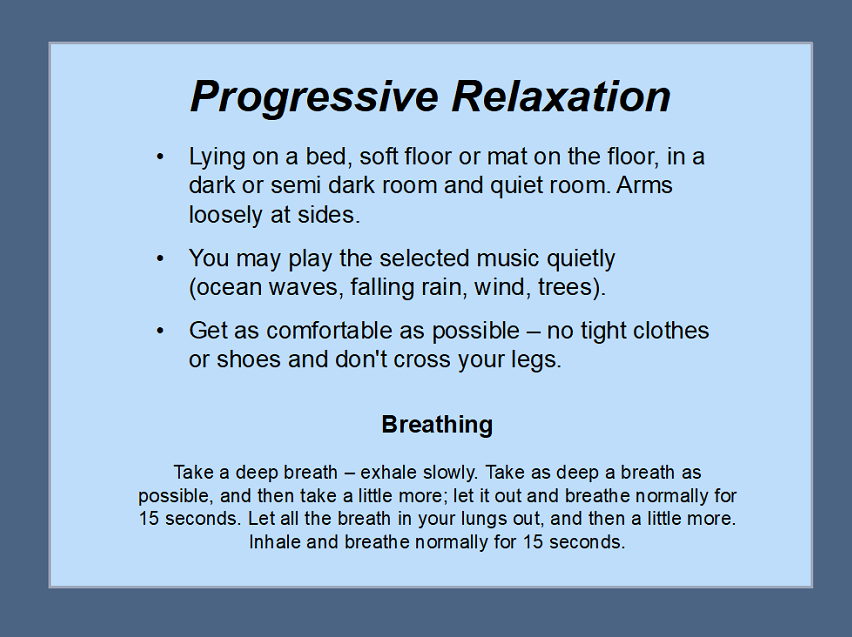
Assume a supine position on a soft floor, or mat on the floor, in a dark or semi-dark and quiet room; arms relaxed at sides by body
Get as comfortable as possible – comfortable clothes, legs extended (not crossed), bare feet
Dim lights and assume a comfortable position (on the back)
Play selected music quietly (ocean waves, falling rain, wind, trees)
Note:
Learn to recognize tension in any specific muscle and be able to reduce that tension over time
Only target and tense the specific muscle or muscle group
Alternate tense and relax specific groups of muscles
After tensing, the muscle becomes more relaxed
Each step is two parts – one cycle of tension and relaxation for each set of opposing muscles
Concentrate on the ‘feel of the muscles’, precisely the contrast between tension and relaxation
Perform the entire sequence once a day until you are able to control muscle tensions (at home)
Problems with pulled muscles, broken bones, or any medical contraindication for physical activities need medical attention)
Breathing:
Take a deep breath as deep as possible, and then take some more – exhale slowly
Then breathe normally for 15 seconds – exhale more deeply from the lungs, forcing the remaining air out
Breathing is slow and evenly – think about tension-relaxation contrast
Use recommended counts until you have the ‘feel for the time span.’
Avoid holding your breath, gritting your teeth, or squinting
Sequence:
Use recommended counts for tensing and releasing (Refer to previous)
Forehead– wrinkle the forehead – Relax
Eyes– open them as wide as possible (furrow brow) – Relax – close the eyes tightly (squint) – Relax (make sure to completely relax eyes, forehead, and nose after each tensing)
Cheeks– crunch, crumple-up, squeeze together – Relax
Mouth– Bring the lips together or purse as tightly as possible – Relax
Tongue (extended and retracted)– with the mouth open, extend the tongue as far as possible – Relax (let the tongue sit in the bottom of the mouth) – roll it back in the throat as far as possible – Relax
Tongue (roof and floor)– dig the tongue into the roof of the mouth – Relax – dig it into the bottom of the mouth – Relax
Neck (lateral)– with the shoulders straight and relaxed, turn the head slowly to R, as far as possible – Relax – turn L – Relax
Neck (forward)– dig chin into the chest – Relax (dropping the head is not recommended)
Hands– tense to fists– Relax – extend the fingers – Relax
Biceps– tense biceps (make a muscle – but shake hands to make sure they are not tensing into a fist) – Relax
Triceps– tense the triceps (try to bend the arms the wrong way – Relax (drop them)
Shoulders– pull the shoulders back (careful with this one) – Relax – push the shoulders forward (hunch) – Relax
Back– push the body forward so that the back is arched – Relax (be very careful with this one, or don’t do it at all)
Buttocks– tense the buttocks tightly and raise the pelvis slightly off the floor – Relax – dig the buttocks into the floor – Relax
Stomach– pull in the stomach as far as possible – Relax completely – push out the stomach or tense it as if preparing for a punch in the gut – Relax
Thighs– extend the legs and raise them about 6 inches off the floor (stomach should not be tensing) – dig feet (heels) into the floor – Relax
Calves and feet– point the toes strongly (without raising the legs) – Relax
Point the feet up as far as possible (flex – beware of cramps – if you feel them coming on, shake them loosely) – Relax
Toes– with the legs relaxed, dig the toes into the floor – Relax
Flex the toes up as far as possible (flex) – Relax
The entire Progressive Relaxation series can be done once through – head to toes – OR is performed as a repetitive sequence:
Tense– relax the forehead (1); add the eyes (2); repeat 1 and 2; add the tongue (3); repeat 1-3; add the neck (4); repeat 1-4; etc. and continue the format top to bottom (head to toes)
Now, relax for a while
As days of practice progress, skip those steps that do not appear to be a problem
After becoming more aware of personal tension areas (after a few weeks), work only with affected body parts
Exercises do not eliminate tension, but when it arises, one becomes aware immediately and, therefore, can “tense and relax” it away
References:
Schloder, M.E. (2017). Physical literacy for children and youth through Fun, Fitness and Fundamentals. Calgary, Alberta Canada: ⦁ www.coachingbest.com
Schloder, M.E. (2016). Ballet for athletes: Modified exercises for cross-training. Calgary, Alberta Canada: Arete Sports/www.coachingbest.com
Schloder, M.E. (2016). Ballet for swimmers: Modified exercises for cross-training. Calgary, Alberta Canada: Arete Sports/www.coachingbest.com